how to make cloche hoops (or rather, how *not* to make them)
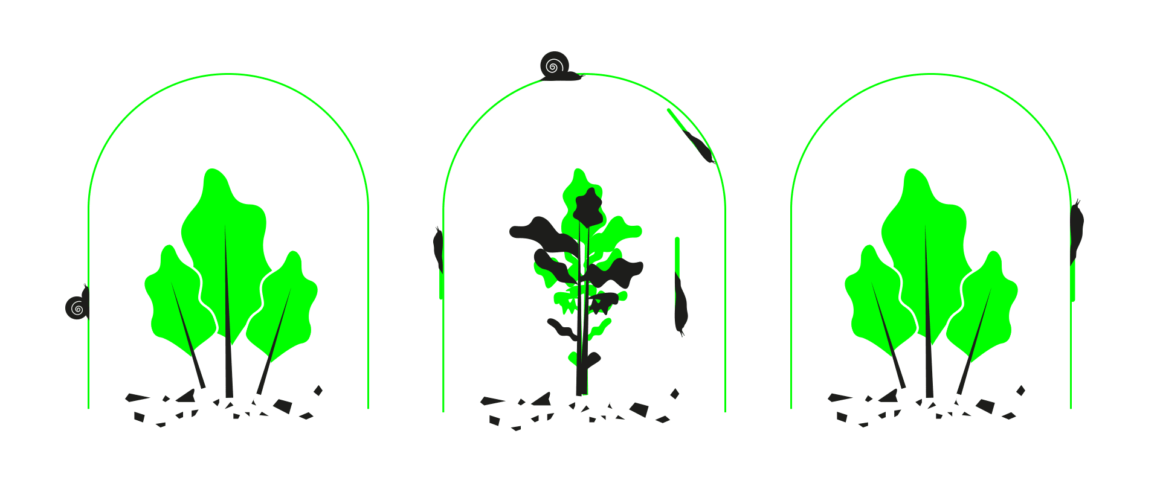
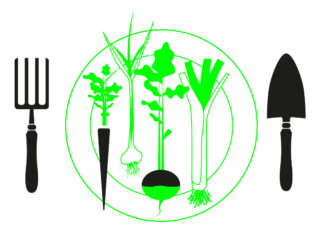
You’ll know those low-slung tunnels of semi-circular, hooped supports covered in plastic or fine-woven mesh. Almost every veg patch you see will have at least one. That’s because cloche hoops, aka growing tunnels, are really useful – vital, even. Covered in horticultural-grade plastic, they increase heat during daylight hours, allowing you to grow tender crops such as lettuce earlier in the year, and warmth-lovers like peppers, basil and aubergines in summer. Covered in mesh or net, they stop pests such as cabbage-white butterflies, carrot root fly and pigeons from massacring brassicas and carrots in summer, and keep hardy crops like lamb’s lettuce, chard and cabbages in top condition in winter.
So, you’re going to want some cloche hoops. Good. And based on the zombie garden mantra –grow in a way that takes the least time, and uses the least resources – you’ll want to make your own, rather than buying expensive, off-the peg versions. Also good.
You won’t find the interweb short of ideas about how to rig up your own tunnels. Most suggest using MDPE water pipe to make the hoops, as it’s light, strong and flexible, and is easy to cut with a hacksaw to whatever length you want, making tall hoops for tall crops, low hoops for short crops. Handily, spare rolls of it quite often turn up at reuse and recycling centres. But a lot of the DIY hoop advice doesn’t tackle what we’ve found are very common problems, all of which are good to know about before you start putting your tunnels together. Brace yourselves, here they come.
What common problems?
These common problems
Problem No 1
Quite often you see hoops that look as if they’ve just been pushed into the soil. But if you do this, as soon as there is any kind of strain on the tunnel covering – wind, rain, snow, whatever – the hoops rock backwards and forwards, smooshing the soil outwards as they do it. Eventually, they fall over. On to your crops, which they flatten. Sigh.
Problem No 2
On raised, container beds with timber sides, one often-cited way to fix the falling-over problem is to screw your hoops to the sides of the bed, either directly or using pipe brackets. All good, except that now you have hoops fixed permanently over your bed. These will get totally in the way whenever you want to fork, dig, till, hoe, rake or do pretty much anything else, and eventually you will come to loathe and fear them.
Problem No 3
You can solve Problem No 2 by making hoop supports out of 200-250mm lengths of 100x50mm timber (what British builders call, with anti-metric majesty, “two-be-four”), each with a deep hole in one end. This requires a lot of sawing, a power drill fitted with a large wood bit, ear protectors, and some serious muscle. If you screw these supports to the inside of the bed walls, you can then stick the hoop ends into the holes. Except that the hoops will all pop straight out of the holes when the wind blows. And after about four years of sitting in wet soil the supports rot, split, and you have to start again.
Problem No 4
Even if you’ve decided you can live with Problem No 3, you’ll still find that, in any kind of tough weather, individual hoops will flop sideways like a row of half-hearted dominos. The usual way round this is to link the whole run of hoops with a roof pole: lengths of bamboo, old broom handles, coppiced hazel rods, all tied with twine or screwed onto the tops of the hoops to keep them rigid. But you still have to find a way to prop up the hoops at either end, otherwise all that happens is the whole row falls over. Plus the tying/screwing takes hours. And unless you have a roof pole long enough to cover the entire run of hoops, the joins between poles are weak points and likely to collapse.
Problem No 5
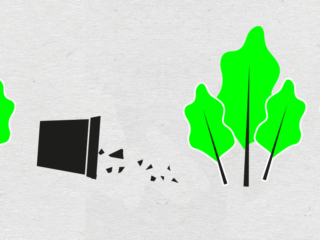
Ok, you think, I’ll make a nice, rigid tunnel that I can easily lift on and off in one piece. This is popularly known as the Gardeners’ World “Geoff Hamilton Cloche”, a flat, rectangular frame of two-be-four, with hoops of water pipe screwed into the timbers, a wooden roof pole and a covering of sheet plastic held in place with staples and battens. Great. Except there is no way to pin this cloche down when, the day after you sit it over your crops, the inevitable windstorm blows up, the cloche takes off like a kite, careens across the whole garden smashing crops as it goes, and finishes up useless and broken in a corner like Mike in The Blair Witch Project.
Problem No 6
Your hoops are up. You’ve put the covering over them. Now what, exactly, is going to stop it blowing straight off again? Garden centres sell various pegs for pinning coverings into the soil, but pinned and pegged coverings tend to rip, which means you can’t re-use them. Bad for your pocket, bad for the planet. And while some sources advise burying the edges of tunnel coverings in the soil of the bed, that makes covering and uncovering crops for weeding, watering, or harvesting about as snappy and fast-moving as Avengers: Endgame.
Doctor Hoop
Feeling depressed? Don’t be. We spent 10 years making all of the above mistakes – many of them several times over – so that you don’t have to.
Here are the solutions we came up with. Some are of our own making, others are copied from zombie-garden sites that we’ve visited over the years, but used together they mean we can now put up and take down a row of cloche hoops in just a few minutes, know that it will stay upright in all but the worst weather, and still give easy(ish) access to our plants.
Solution No 1
To hold hoops in place, we break lengths of bamboo canes or medium thick hedge trimmings into 300-400mm lengths, push these into the soil, then stick the ends of our water pipe-hoops over these. This is super quick, and costs nothing – though we have to admit to also collecting discarded lengths of rebar, the twisted steel that’s used to reinforce concrete, as it bangs into the ground beautifully and doesn’t snap like bamboo can.
Solution No 2
To stop the topples in a short-term run of hoops covered with insect mesh, we push two equal lengths of bamboo canes or hedge trimmings into the soil by the middle of each hoop, one on either side, and slant them so their tops cross to make a V shape. If you sit the apex of a hoop into this V, it won’t topple. Or not far, anyway.
Solution No 3
For a longer-term tunnel, or one that’s covered with plastic or fleece (which twigs might pierce), we run a length of rope, garden twine or old clothes line from hoop to hoop, looping it over and round the top of each hoop and then tying either end to an old tent peg at either end of the tunnel and banging it into the ground.
Solution No 4
To fix the covering, the trick is use to use cover that’s the right width, enough to allow for the length of a hoop, plus 500mm – that way you can lay the excess across the soil and weigh it down with old bricks, roof tiles, spare timber, stones dug out of the garden or home-made sandbags. If you’re building a tunnel on a container bed, btw, you have two choices. Either set your hoops about 250mm in from each side, to allow room to weigh down the cover; or if you want to use the whole width of the bed, use a covering wide enough to reach from the ground, up the side of the bed, over the hoops and down the other side of the bed, plus that extra 500mm for weighing down.
That’s it! Well, almost. Because of course this isn’t the only way of constructing cloche hoops – we’re obsessive about finding new and better ways of building them, so do share your ideas with us on Twitter or Instagram using #GardenOrDie. Hoop, hoop hooray!

MDPE Not a workout for tip-tier executives, but a particular kind of hard plastic: medium density polyethylene, since you’re asking. If you don’t want to upset David Attenborough, hoops made of galvanized wire (flimsy, cheap) or mild steel rods (strong, expensive) are both workable alternatives to plastic pipe. Unfortunately, as far as tunnel coverings go, we don’t know of any viable alternatives to plastic-based insect mesh, plastic-based woven bird net or, er, plastic-based plastic. But at least they are very reuseable – so far ours have lasted 10 years without any signs of degrading.